
What you need before you start
You’ll need a portrait you have permission to use, the pencil you want to fit and access to a 3D printer. A home FDM printer with PLA is the starting point for our print guidance. You’ll also need a slicer to turn the downloaded model into instructions for your particular printer.
Bobble Studio makes digital files. We don’t ship a head or a pencil. A generation costs $4.99 USD for one concept and one 3D head, with size and socket exports for that same head included. You can explore the examples before making an account or paying.
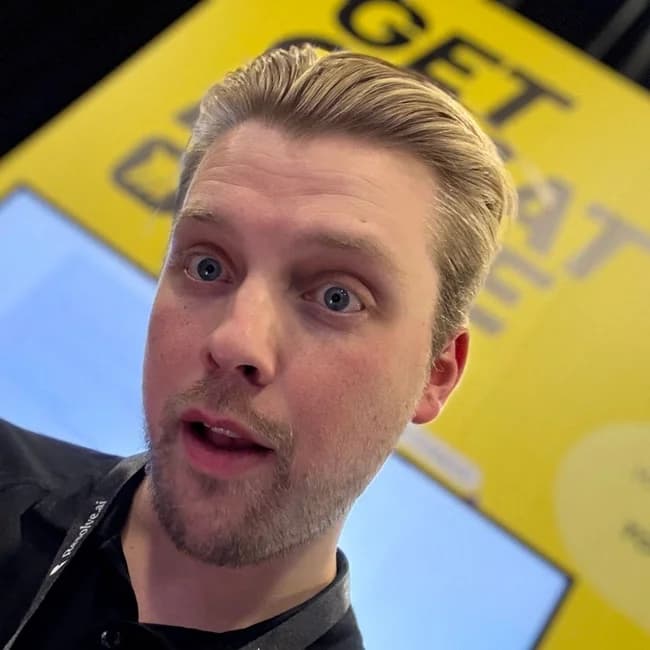
1. Choose a photo that actually looks like you
Use one person, facing the camera, with their whole head in frame. Soft, even light makes it easier to see the eyes, nose, mouth and hairline. Avoid heavy beauty filters, motion blur, strong shadows across the face and tiny faces cropped from a group shot.
- Keep the top of the hair, ears and chin visible when cropping.
- Choose a familiar expression. A natural smile is easier to judge than an exaggerated pose.
- If you want glasses, use a photo where you are wearing them and the frames are clearly visible. If you don’t want glasses, choose a photo without them.
- Upload a JPEG, PNG or WebP image up to 10 MB.
A good reference helps, but this is a stylised generation rather than an exact 3D scan. Parts of the head hidden in the photo have to be inferred.
2. Check the concept before generating the model
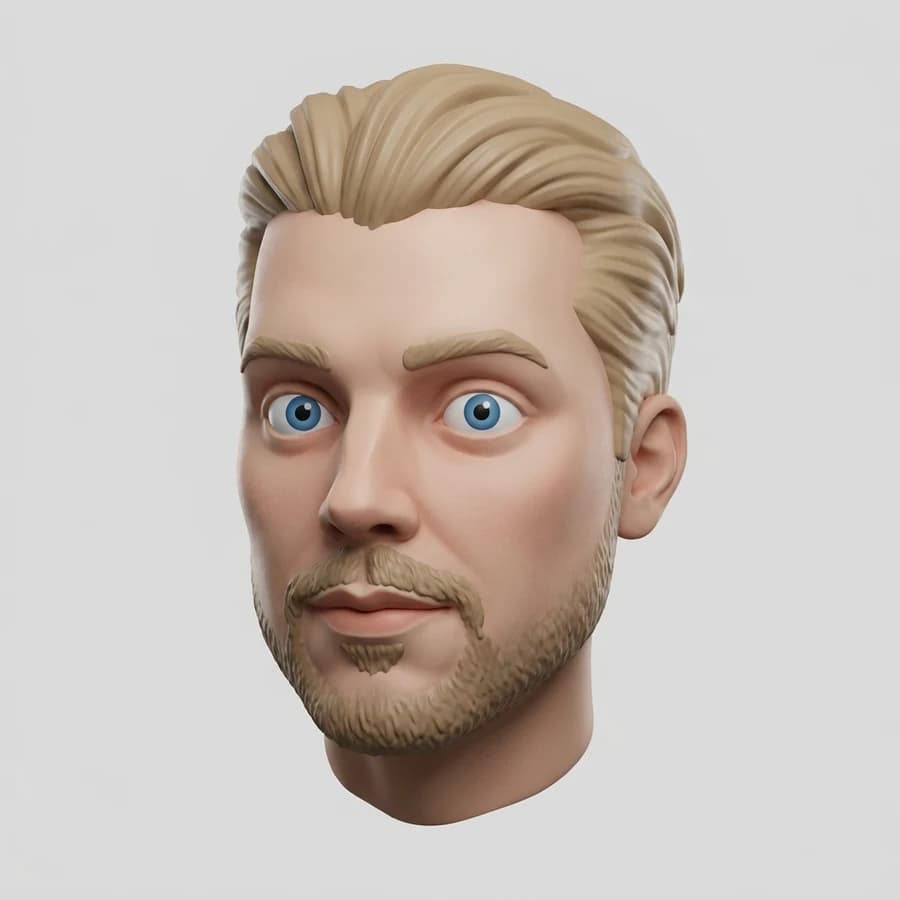
The first result is a 2D concept. Check the face shape, expression, hairstyle, facial hair and glasses before choosing to generate the 3D head. This is the point to notice an accessory that shouldn’t be there, or a hairstyle that doesn’t resemble your reference.
Approving the concept starts the 3D stage. It doesn’t make the image’s painted shading into guaranteed physical detail. If the concept is unsuitable, contact support before buying another allowance; additional concepts or model generations are separate from adjusting the fit of an existing head.
3. Look at the sculpt from every angle
Rotate the generated head and check the front, sides, back and underside. Then switch from Colour to Sculpt. Colour shows the model’s texture; Sculpt shows its surface geometry without the colour information.
This distinction matters for printing. A dark line that looks like an eyebrow or wrinkle in the colour preview may not have much depth in the mesh. Your printer reproduces the shape, and a small head or thicker layers can make fine detail less visible. Don’t judge the printable result from the concept alone.
4. Set the fit, then print and finish
Measure your pencil and set the socket shape, width and depth in the studio. Print a small fit sample before the full head. Follow the round and hexagonal pencil sizing guide so you measure the right part.
Choose the head height in the studio, download the prepared STL or 3MF, and inspect it in your slicer. Keep the exported scale unchanged once you have tested the socket. Choose your printer profile, material, supports and layer height before slicing.
Our first worked example includes a 35 mm head and free fit files. It’s a useful way to try the workflow on your equipment. The successful fit on our test pencil is a reference, not a universal pencil dimension.
Finally, print in a filament colour you like or prime and paint the head. The gallery’s colourful previews are digital models, not photographs of painted prints. We’ll add physical painted examples as we make and document them.